Landscape
Definition & Theory
 |
| C. Ansel Adams |
What is landscape? And what is photography?
Landscape photography shows spaces within the world, sometimes vast and unending, but other times microscopic. Landscape photographs typically capture the presence of nature but can also focus on man-made features or disturbances of landscapes. For photography, photography is about picturing what you see, or more-so what you want to see. It's about portraying a scene that you've experienced, or want to experience/see
Define Landscape.
All the visible features of an area of land, often considered in terms of their aesthetic appeal.
Pre-visualisation - this is a very important way of finding the right photo. It's all about knowing what you want to take a picture of before you take the picture.
Filter - absorbs different amounts of light
The Zone System
The zone system is a guide created by Ansel Adams which gives information on what areas of the photo are. You have Zone 0-3, which are all shadows. There are mid-tones from Zone 4-6, and then 7-10 describes the highlights of the photos.
F-Stop/Depth of Field/Tonal range
Each of these parts are vital in photography. Firstly, aperture is one of the main things we use for picturing the depth of the photo. The lower the F-Stop, the higher the blur that is in the background. For example, if you take a macro photo of a flower with F-1.8, it will blur out the entire photo except for the foreground. If you then take a photo of a massive landscape with F-22, it will take in the entire photo. To get the depth and blur of some areas, you need to find a balance between each side of the aperture. If you use it too high you'll lose the 3-D feel of the image, but if you have it too low it will blur out the majority of the photograph.
Depth of Field is similar. Depth of Field is the entire part of the photo which is in focus. Depth of Field doesn't have a "setting", it's really just something to do with aperture. If you're doing landscape, use a high F-Stop, and vice versa.
Finally, there's tonal range. Tonal range is about the range of different tones in the image. It "does what it says on the tin". A tonal range which you'd want, using the zone system, would be 0-10 or 0-9. Make sure to have a wide variety of tones.
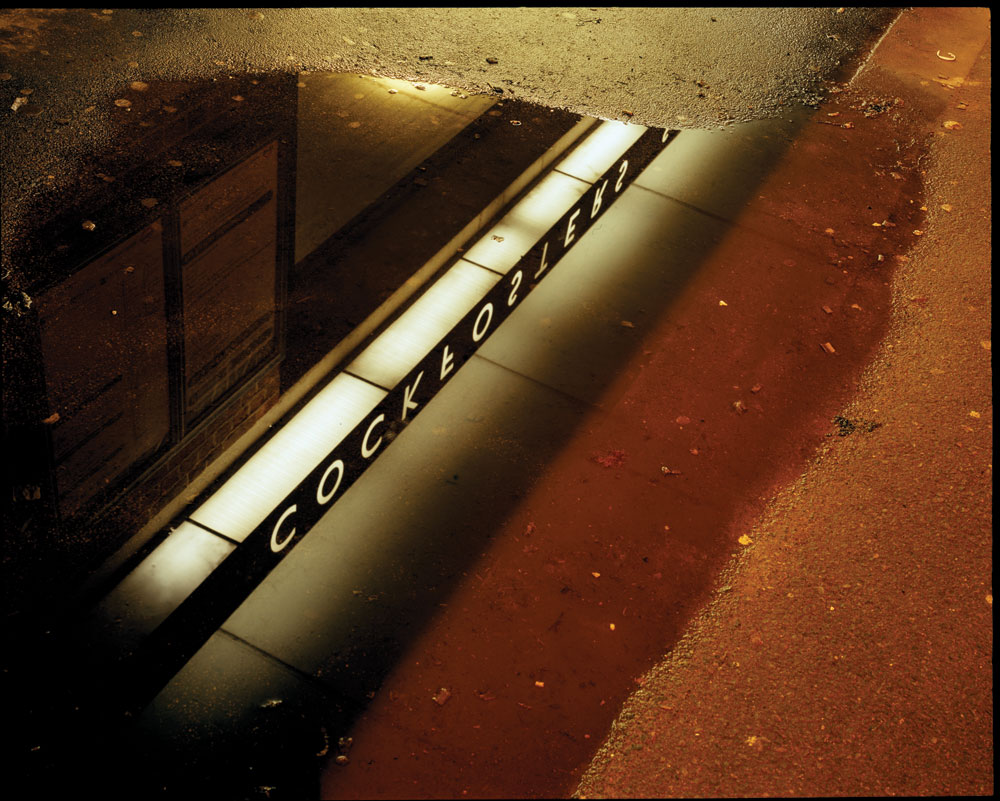
Artist Research; Rut Blees Luxemburg
Rut Blees Luxemburg is a German photographer who is famous for her large variety of photos taken in and around London. She takes many of these sprawling urban landscapes at night, giving the signature feel. She was born in 1967 and still lives to this day, tutoring in the Royal College of Art, UK.


The zone system is a guide created by Ansel Adams which gives information on what areas of the photo are. You have Zone 0-3, which are all shadows. There are mid-tones from Zone 4-6, and then 7-10 describes the highlights of the photos.
F-Stop/Depth of Field/Tonal range
Each of these parts are vital in photography. Firstly, aperture is one of the main things we use for picturing the depth of the photo. The lower the F-Stop, the higher the blur that is in the background. For example, if you take a macro photo of a flower with F-1.8, it will blur out the entire photo except for the foreground. If you then take a photo of a massive landscape with F-22, it will take in the entire photo. To get the depth and blur of some areas, you need to find a balance between each side of the aperture. If you use it too high you'll lose the 3-D feel of the image, but if you have it too low it will blur out the majority of the photograph.
Depth of Field is similar. Depth of Field is the entire part of the photo which is in focus. Depth of Field doesn't have a "setting", it's really just something to do with aperture. If you're doing landscape, use a high F-Stop, and vice versa.
Finally, there's tonal range. Tonal range is about the range of different tones in the image. It "does what it says on the tin". A tonal range which you'd want, using the zone system, would be 0-10 or 0-9. Make sure to have a wide variety of tones.
Artist Research; Rut Blees Luxemburg
Rut Blees Luxemburg is a German photographer who is famous for her large variety of photos taken in and around London. She takes many of these sprawling urban landscapes at night, giving the signature feel. She was born in 1967 and still lives to this day, tutoring in the Royal College of Art, UK.


Contact Sheet

Best Images


Worst Images


The images shown above are all taken within a one to two day timeframe outside in the general public. The photos are all based on Ruut-Lees Luxemburg's photography style, except taken in the day. The photos are an attempt at describing the built-up feel of many metropolitan areas, with lots of older buildings and many of them which haven't seen a deep clean in a good few years. It shows the very grungy feel that the town gives off, especially in autumn. With most of the trees without any leaves, it makes it look like a very desolate place if you were to remove much of the traffic and more up to date buildings. Furthermore, the photos almost take you back to the 20th century, as many of them were made upon the creation of the New Town itself. With many still standing after a strong 60+ years. The real gist of the situation is to give off that grime-y, more dirty look that you get with places that get less funding or income.
Edits


As per usual, I edited the photos via Photoshop CC, editing them to have high contrast and a colder feeling. For the vast majority of the photos, I edited the exposure and brightness, as well as correcting the gamma and raising contrast via the adjustments and levels to create an atmosphere which links to the grunge feel. Furthermore, because of the irregular lighting from many different buildings' shadows, when editing I took into considerating specific areas which should have shadow, while others might not. So for example, I would want a shadow below an overhang to be darker, but the rest to remain bright. What I do then is CMD+I (CTRL+I) after creating a layer which is very dark. Then, I take the brush (make sure it's white), select the layer (not the mask) and then brush where I want the shadow. This gives off the darker, higher contrast feel I'm looking for. After that, I might edit the vibrance, saturation or filter to create that impression of a colder, wintry atmosphere.
Camera Settings
I used a Canon EOS 1100D with a regular lens to take the photos, which range between an aperture of F6 and F11. The ISO was between 400 and 1600, and the shutter speed was edited depending on the exposure, setting it between 1/200 and 1/800.
Final Piece


No comments:
Post a Comment